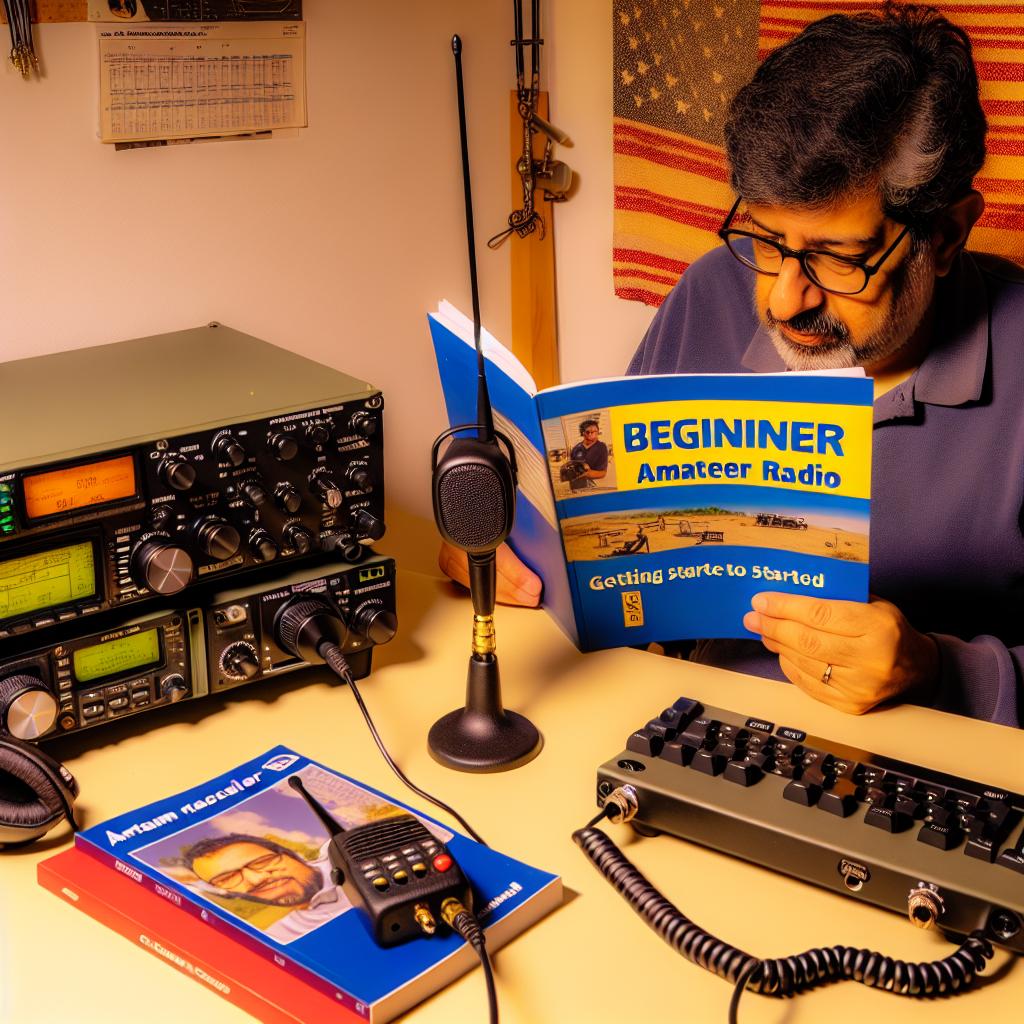
Introduction to Dipole Antennas
A dipole antenna is one of the simplest types of antennas that can be employed for receiving and transmitting on HF bands. Its design consists of two conductive elements, such as metal wires, which make it straightforward to construct. This article explores how you can build a simple dipole antenna to operate effectively within the HF spectrum.
Understanding the Basics
A dipole antenna is essentially a resonant structure that needs to be half the wavelength of the frequency you wish to work with. This calculation ensures that the antenna performs at its optimum level for HF communications. The formula to determine the length of each leg of the dipole in feet is:
Length (feet) = 468 / Frequency (MHz)
This is a crucial step because the correct length ensures that the antenna can resonate efficiently at your desired frequency.
Materials Required
Building a dipole antenna requires materials that are easily accessible. You will need:
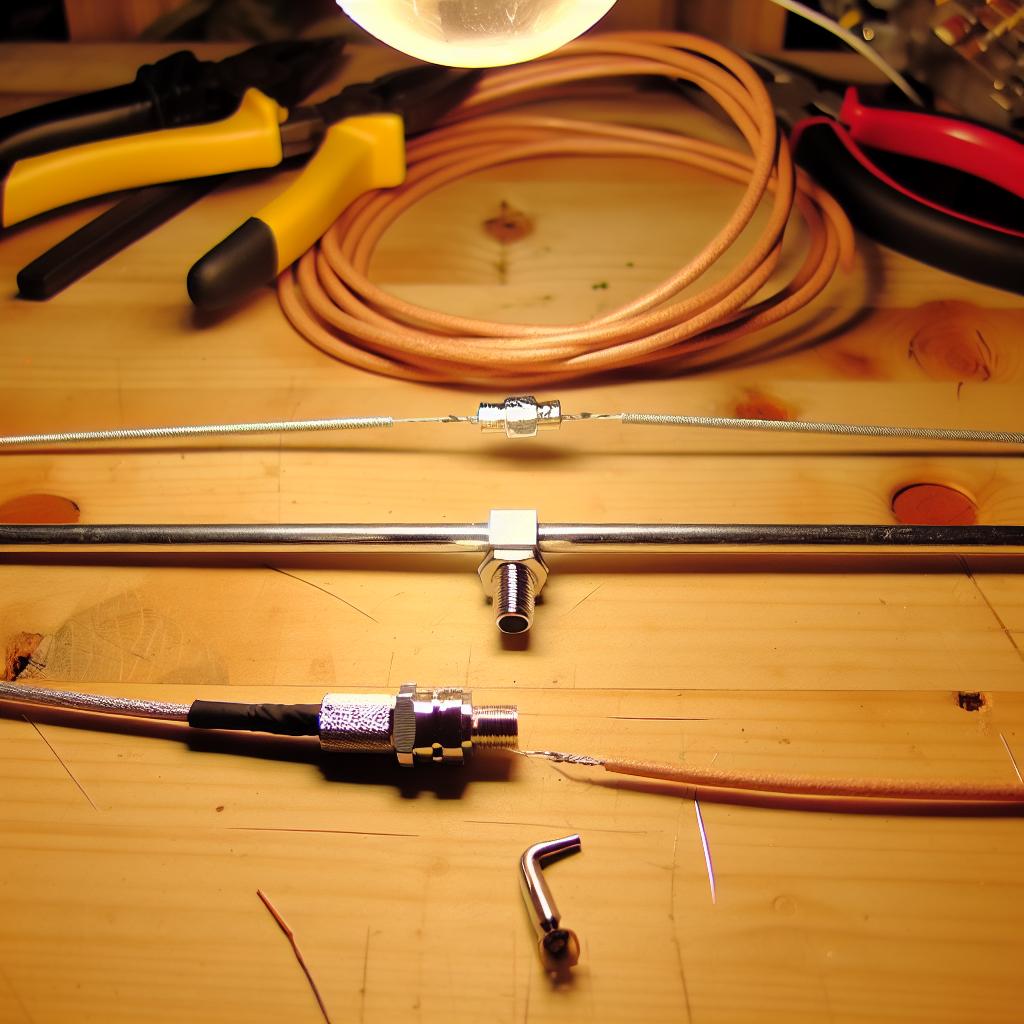
1. Wire: Typically, you want to use insulated copper wire. 2. Balun: A 1:1 balun is commonly used to transition from coax cable to balanced dipole elements.3. Coaxial Cable: RG-58 or RG-8 are common types for connecting the antenna to your transceiver.4. Insulators: These are needed for both ends of the dipole to prevent the wire from grounding and ensure safety.5. Connectors: Coax connectors (PL-259) are commonly used to connect the coax to the transceiver.
Construction Steps
To construct your dipole antenna, follow these steps:
Measuring and Cutting the Wire: Calculate the total length of wire needed for the desired frequency using the formula provided earlier. Cut this wire in half to create the two arms of the dipole.
Attaching Insulators: Attach insulators to each end of the wires. This can be done by looping the wire through the insulator and securing it back on itself.
Connecting to Balun: Connect the center conductor of the coaxial cable to one wire arm and the shield to the other at the balun. This helps match the impedance and reduce signal losses.
Setting Up the Antenna: Position the antenna in your desired location, ensuring it is elevated and as straight as possible. The antenna can be installed horizontally, vertically, or in an inverted V formation.
Testing and Tuning: Once installed, use an SWR (Standing Wave Ratio) meter to test the antenna’s performance. Fine-tuning may be needed by adjusting the length of your wires slightly to achieve the lowest SWR.
Deploying Your Antenna
Once your dipole antenna is up and running, it is essential to continuously check its performance through regular testing. Make adjustments as necessary and monitor the effects of weather and environmental changes.
Advantages of Dipole Antennas
Dipole antennas have several advantages that make them popular among enthusiasts of radio communications. Their simplicity of design does not undermine their effectiveness.
Cost-Effectiveness: Dipole antennas require minimal materials and are cost-effective compared to more complex antenna systems. This makes them accessible to a wide audience, including beginners.
Efficiency: When constructed and deployed correctly, dipole antennas can be highly efficient for HF communications. Their design inherently supports a broader frequency range, allowing them to be utilized in multiple applications.
Directional Flexibility: Although primarily designed to be omnidirectional, dipole antennas can be adjusted in their installation to favor certain directions, offering a degree of control over the radiation pattern.
Challenges in Dipole Antenna Construction
Despite their advantages, building a dipole antenna does come with its challenges.
Precise Measurements: The efficiency of a dipole antenna is closely tied to the accuracy of its measurements. Even small deviations from the ideal length can result in poor performance.
Environmental Factors: The location and environmental conditions where the antenna is installed can significantly impact its functioning. Factors such as height above ground, surrounding structures, and even weather conditions play a role.
Balancing Act: Achieving and maintaining the balance in the dipole antenna’s setup, particularly with the use of a balun, requires a careful approach to minimize losses and optimize performance.
Advanced Configurations
While the basic dipole antenna serves many needs, there are advanced configurations for those seeking more. Variants like the folded dipole and multi-band dipole expand upon the basic design to cater to more specialized requirements.
Folded Dipole: This is a variation that uses an additional conductor alongside the main dipole elements to enhance bandwidth and achieve better impedance matching.
Multi-band Dipole: This setup involves using traps or additional wire segments to allow the antenna to operate effectively on multiple frequency bands, providing greater versatility for users who wish to cover different HF bands without constructing multiple antennas.
Conclusion
Constructing a simple dipole antenna for HF bands can be an enriching project that enhances your understanding of radio communications. Its design highlights the significance of precision, ensuring optimal performance for HF band operations. Whether you are a novice or experienced hobbyist, the dipole stands as a versatile tool that remains a staple in the amateur radio community. Through experimentation and learning, enthusiasts can leverage the dipole’s flexibility to explore various radio frequencies, thereby honing their skills in the field of wireless communications.